the photoplug - the optical shutter speed tester for your smartphone
What is the Photoplug?
The PhotoPlug is a small light sensitive sensor which plugs into the headphone-jack of your smartphone. Together with the Shutter-Speed App (available FREE on the iOS and Android AppStore) it transforms your smartphone into an optical shutter speed tester for analog cameras. If your smartphone does not have a headphone jack, you can use an adapter cable.
The Plug contains a small light-sensitive element which converts light into electrical signals. All you have to do is open the back of your camera, point the camera with the lens towards a bright light source, and position the PhotoPlug behind the shutter. When you release the shutter, the light travels through the camera shutter and hits the PhotoPlug. The PhotoPlug measures the duration of that light pulse - which is equivalent to the shutter speed of your camera.

the photoplug is a tiny sensor that connects to your smartphone via the headphone jack (or an adapter cable).

Place the camera towards a bright light source.

Position the photoplug behind the shutter.

Two peaks indicate the opening and closing of the shutter. The peaks are automatically detected and the measurement result is displayed.
Step by step guide

add a new camera
Tap on “Camera Manager”. Then tap on “Edit” and “Add new Camera”. You can now enter the name of the camera you want to check.
Setup the measurement
Connect the PhotoPlug (either directly or via an adapter cable).
Open/Remove the camera back.
Point the camera against a bright light source.
Position the PhotoPlug behind the camera shutter.
Press the aperture symbol (turns red) and release the camera shutter within the 3-sec measurement interval.
Analyze the measurement
The App displays a waveform with two peaks.
The peaks are automatically detected (indicated by the red marker). You can manually drag and zoom the signal using two fingers. You can also adjust the red markers manually.
Important: Select the target speed (the speed you set on your camera) on the bottom left corner, so the app can calculate the correct values.
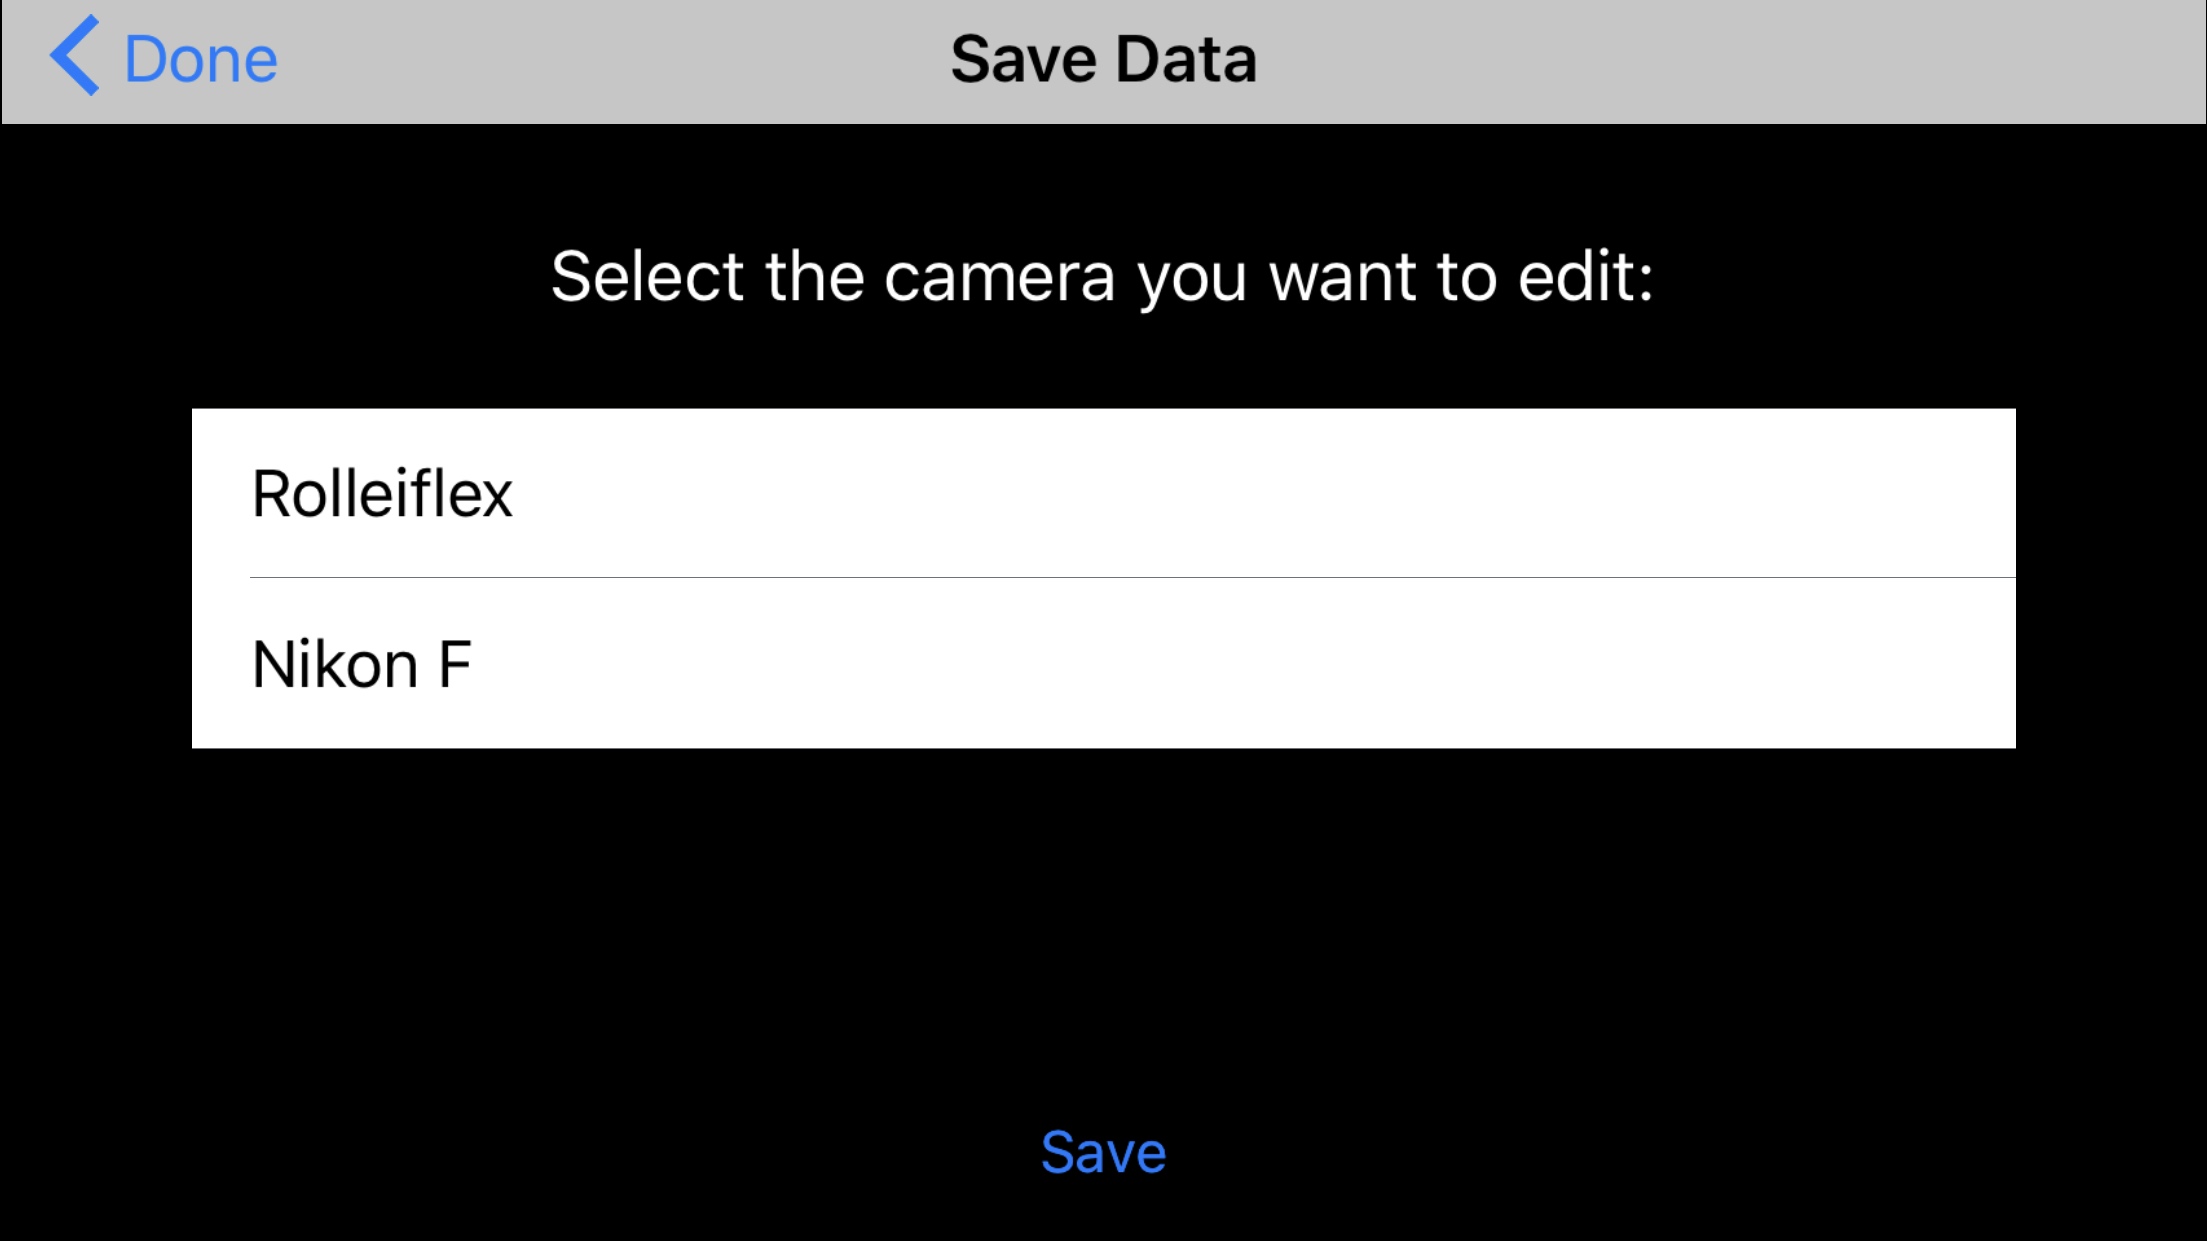
save the data
Select “Save Measurement” to save the measured shutter speed. You can select from the list of cameras, that you previously added in the “Camera Manager” (see step 1). You can override individual values by saving another measurement to the same camera and shutter speed.

view the data
After you saved the data, you can view it in the Camera Manger.
The Correction value is given in thirds of an f-stop. “+1” tells you to open the aperture by 1/3 f-stops in order to get a correct exposure. On the other hand “-2” tells you to close the aperture by 2/3 f-stops.
troubleshooting
Most issues are caused by the PhotoPlug not being connected properly. Make sure that the PhotoPlug is inserted fully into the headphone jack. If you are using an adapter cable, make sure it is the right type. A selection of tested adapter cables can be found here: https://shop.filmomat.eu/products/photoplug
Important: The orignal Apple USB-C to Headphone adapter (for iPhone 15 and newer) does NOT work. Please use an adapter cable from the link above (or similar). The original Apple Lightning to Headphone adapter (for iPhone 14 or older) DOES work with the PhotoPlug.
FAQ:
“The measurement result makes no sense." (for example 1/1725sec is displayed for 1/15sec measurement)
Usually caused by automatic peak detection not working properly. Solution: Manually adjust the zoom of the signal and position the red marker manually.
“I don’t see two peaks in the signal, only noise.” / “The peaks are not sharp.”
Lightsource is too weak.
Measurement was not completed within the 3-sec measurement interval.
Too much stray light.
“I get lots of peaks in the signal.” / “I get double-peaks in the signal”
Light source is flickering. This can happen with fluorescent light bulbs or dimmable light sources which flicker at high frequency.
Light source is too bright.